Wednesday 16 May 2018


 Hi everyone,

We've been busy with some of the latest stamps from Impression Obsession, they are fab.
Here's a sneaky peek of what's coming up on tomorrows shows on Hochands at 11am & 3pm.
Thank you too the crafty gang who came up with some great ideas at very short notice.


 There are some amazing backgrounds, safari silhouettes
and cheeky monkeys.
There is also a fab snail stamp, even if you don't like them in your garden they are fun


Hope you've enjoyed the cards,
Thanks for dropping by,
Maggie


Saturday 12 May 2018

 Hi everyone,

Hope you're all enjoying the weekend.
People have been asking me about the dies I used in the French Country album, if anyone is still looking for them sirstampalot has just got some in.
I'm back on Hochanda this Thursday at 10 & 2, and will be using some lovely stamps from Impression Obsession......sneaky peeks to follow in the next few days.
Thanks for dropping by,
Maggie

Wednesday 9 May 2018


Hello everyone,

Here are some more detailed pages of the Fairy Dust mini album, if you'd like more detailed instructions, please get in touch.


The front, spine and back cover of my mini album using papers from Graphic 45 Fairy Dust collection


Inside front cover, using an ephemera card as a decorative pocket.


 I made a lift up flap, and used a corner slot punch on the inside ephemera cards for holding photos.


On these pages I created vertical and horizontal pockets


This page has a flap, which when opened out has a frame underneath, made using a small ephemera card mounted on card stock then black foam tape, so you can slide a photo in. The slots were made using a craft knife and neatening each end with a hole punch-I used a cropadile.


This page has 2 vertical pockets,.


Here, I had different depth horizontal pockets, and on the other page I decorated the pocket with an ephemera card and fussy cut some of the detail to create a fancy pocket edge.


These pages have the same pocket sizes and just decorated with the papers swapped around.


This page has 2 horizontal pockets, I highlighted the edges with black card strips then covered with border strips from the papers.
 

This is a flip flap pocket, where the hinge of the pocket is in the middle of the page instead of on the edge.


Horizontal pockets of the same depth on both the last page and the inner back cover.


 I hope you've enjoyed a look at these - it's sometimes easier than looking at a video.
Thanks for dropping by,
Maggie


Monday 7 May 2018

Good morning everyone,
I've had some requests for some page layouts and measurements.
If you would like the measurements, please contact me, as there is too much to post on here.
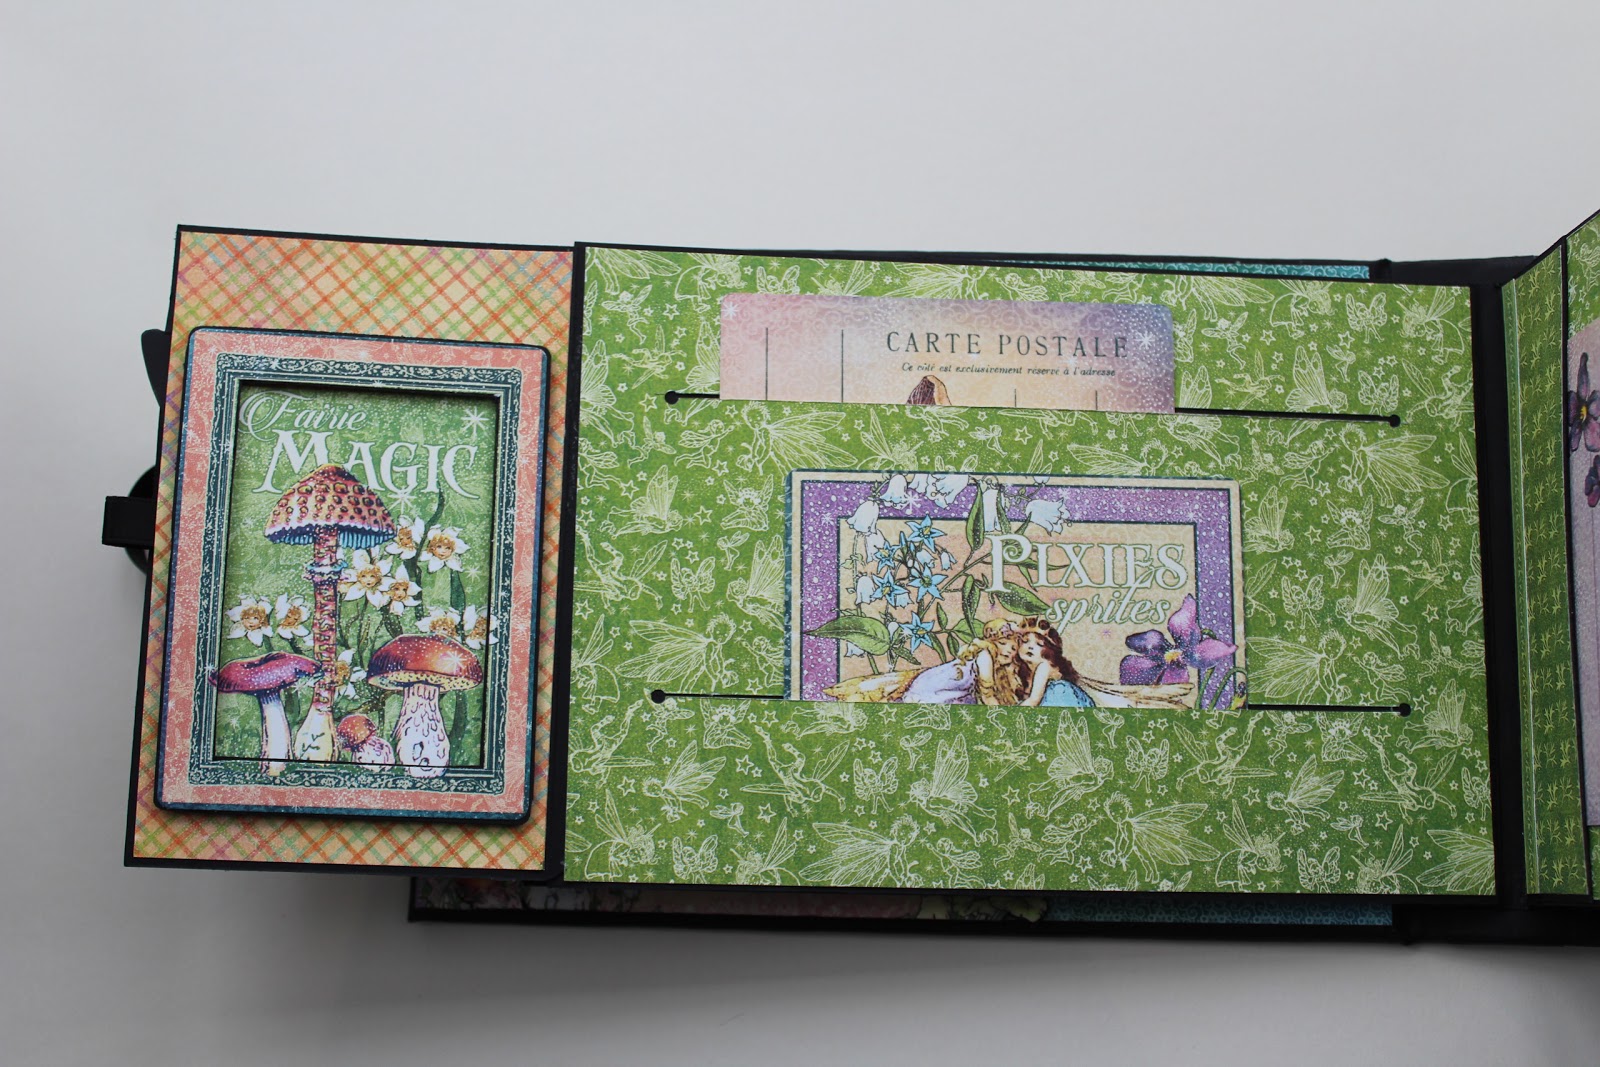
Here's a few individual photos of the drop side box album using the fabulous Graphic 45 French country collection.

Page 1 - I kept the pattern and picture and cut a lift up flap in the decorative paper
 

Page 2 -  I used the fancy brackets dies (LaLaLand) to create  a fancy edge on the flap and the pocket.
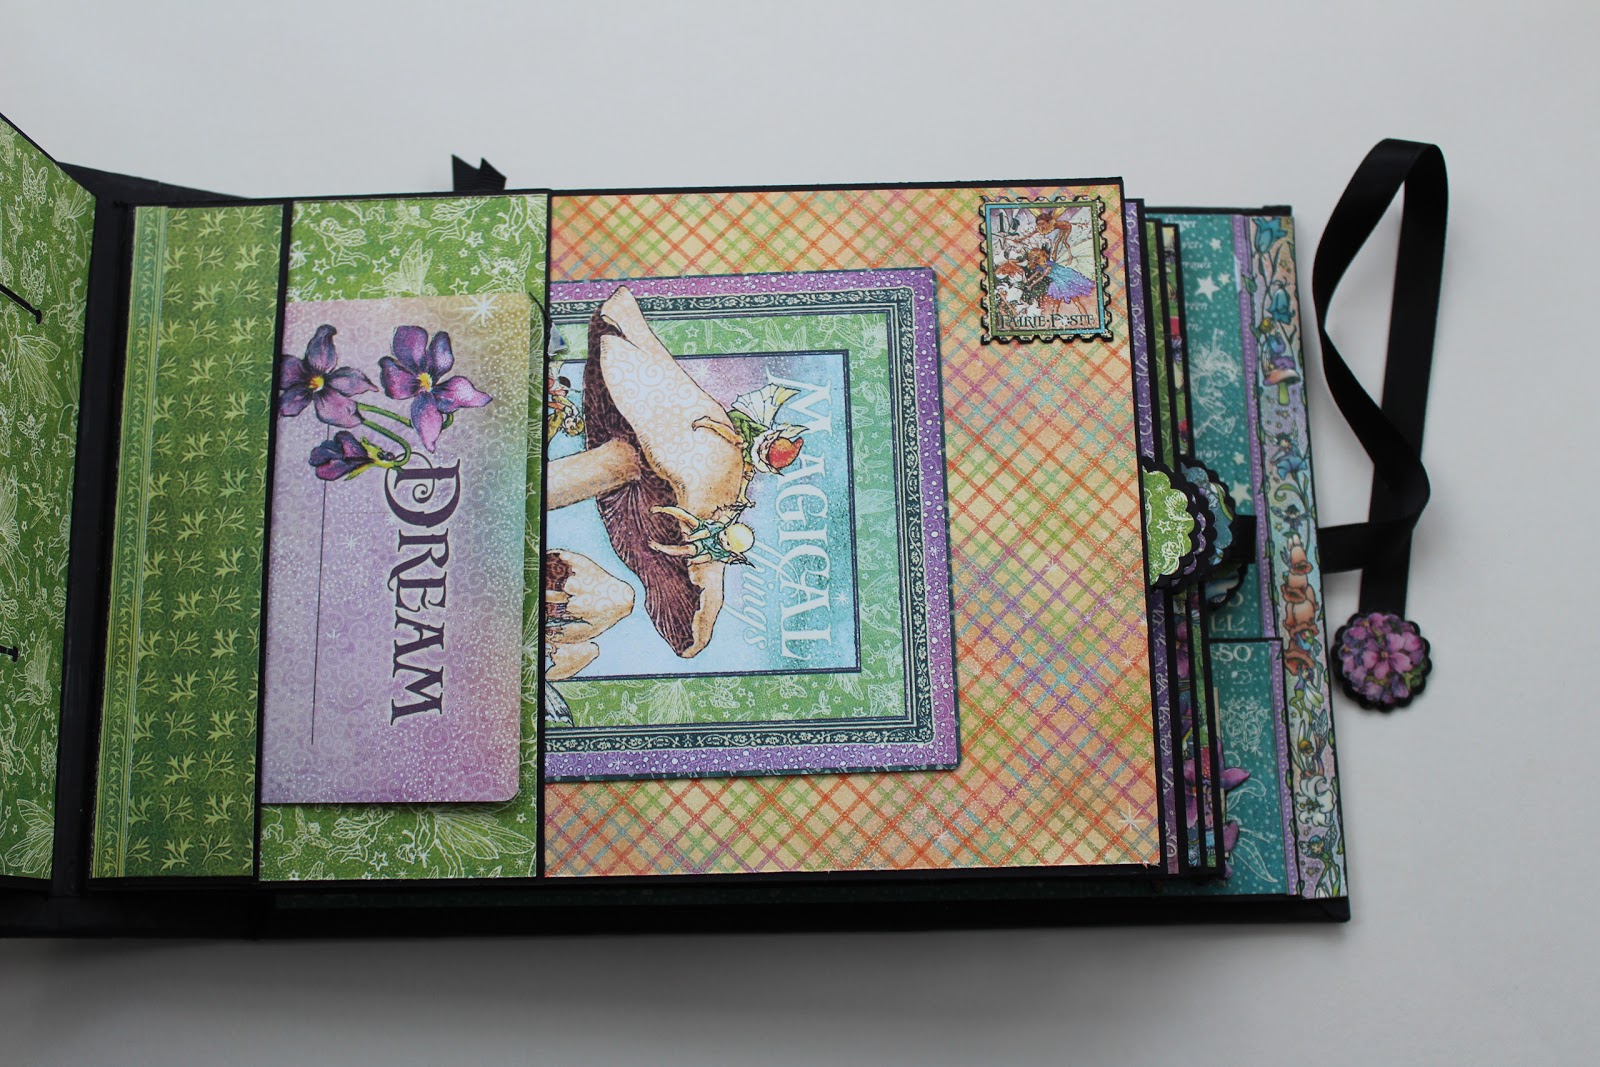


Page 3 - Here I used the fancy bracket dies to cut directly into the paper to create pockets


Page 4 - Here I have created a complete lift up page with horizontal pockets.

I did the same for page 5, just reversed them so it was a complete lift down page flap,again with horizontal pockets.

For page  6, I created vertical pockets


For page 7, I used the stitched slot dies (LaLaLAnd) on the left side and created a flap on the right hand side, hidden underneath the flap is a corner pocket when you open the flap.


For page 8, I chose a well patterned paper and cut around some of the flowers to create a pocket


For page 9, I made a supportive strip backed with black foam tape to provide a "ridge" to hold a page tab in place - I also added a chipboard embellishment to help secure the page tab.


For page 10, a very simple and quick page, using a stitched slot die diagonally to create a corner pocket.


For page 11, I created a double flap, so when you open the flap, you then have to open it again.
All the pockets along the bottom of the page and the flaps are the same size and match, helping to provide continuity.


For page 12, 
I created 2 vertical pockets and also used the stitched slot dies to create different pockets.

I hope this has given you a few ideas, thanks for dropping by,
Maggie

Wednesday 2 May 2018


Hello everyone,

A NOTE ABOUT THE INSTRUCTIONS IN THE PACKS,
 Despite multiple proof reading by different people and making them up from the instructions there are some errors. I am so sorry about this.

 DROP SIDE BOX INSTRUCTIONS

At the top of page 2, the measurements should be as follows:

Cut one piece 8" x 12" and one piece 8" x 4", so when you join them together with double sided tape, you will have a piece measuring 8" x 16" approx.


MINI ALBUM  INSTRUCTIONS

At the top of page 1, the chipboard spine should be cut at 6" x 2", so it is the same size as the front and back covers.

I am so sorry about these typos, thank you to Vivien and Mary for letting me know.
If any of you have any problems or questions,  or spot any thing else please do get in touch.

Thanks
Maggie