Friday 1 September 2017


Good morning everyone,

How about using thermal paper to create amazing background effects?
I've been using black thermal cartridge paper/film from an obsolete fax machine, so if you have a fax machine which is no longer being used, take out the cartridge and get crafting.
I used the film, shinier side down and lightly held it against some card, then heated with a heat gun. The effects are very quick to achieve.
Try scrumpling up the film before you heat it, or just apply to a small area, or reapply in an area that you want darker to create a stronger contrast.
Colour the card beforehand with different mediums or after you have applied the thermal film, many different effects can be created.
Here are some of my first results.


Coloured shapes with wax crayon first, then thermal film applied.


Coloured card with sparkle pens, applied the thermal film, then pixie powders spritzed afterwards .
Acrylic paint applied first, allowed to dry then thermal film added.
Thermal film applied first, then distress oxide added afterwards.

Distress inks applied direct to card (not blended), dark to light colours, then thermal film applied.


Distress inks applied (blended) first, before thermal film.

Distress inks applied, blended and  spritzed, then thermal film applied.

Plain white card with thermal film applied  on top.
Sue made this lovely card using the black and white background.......It's fab Sue!


I had a lot of fun making these backgrounds and experimenting, 
what I like best are all the different effects that are produced. I'm sure there will be many more things to mix and match........... so watch this space!

Thanks for dropping by and have a good day,
Maggie

Wednesday 30 August 2017


Good morning everyone,

Hope you've been enjoying the lovely sunshine over the Bank holiday weekend.
Here's a few cards that we all made up for the latest show, using the brand new releases from Wild Rose Studio.
As always the crafty gang excelled themselves, thank you all so much.

This is one crafty cat who wants to be part of the gang!

Fabulous cards from Kay using the WRS winter cottages stamps set


Festive cracker and pop out card from Yvonne, they are lovely and really catch the eye.

Festive fun with the boozy Santa with this lovely card from Anita.


Cards with a difference from Rosemary, using the lovely grosgrain ribbon to produce an iris folding technique...
fabulous and very effective.


Sue used the ultra fine glitter very effectively in these cards, the photos don't do them justice, but they looked stunning when shown on Hochanda.

Here's my take on the boozy Santa...yes I had to use some hessian to help create some dimension, I like all the extra bits that come with this stamp set, the lights, candy canes, and extra bottle that could be used for a special occasion or birthday not just Christmas.


Another crafty cat looking to join too..............


"looks like fun, can I join in?"


I hope you've enjoyed looking at the new stamp images and lovely cards and meeting 
the 2 new members of the crafty gang!

Thanks for dropping by and have a good day.

       Maggie

Good morning everyone,
Finally, here are some of the lovely cards made by all the crafty gang.....thank you so much for all the beautiful cards you made, they are FAB. All the cards were made using stamped images and papers from Wild Rose Studio.


Sue has made some lovely cards here that really show off the stamps and papers together.


Fabulous cards from Rosemary using the different stamp images, reflecting a wonderful sense of fun and festivity.


We all had a lot of fun with all the characters from the stamped images...they fired up our imagination. These lovely cards were made by Sue.
The above card with penguins was made by Rosemary who used a barbed wire fence die to stop the polar bears from trying to steal the presents.
This fun card was made by Kay and the mouse is stamped onto duralar, which gives a lovely background effect.
This lovely card was made by Yvonne and really shows off the soft  blue/green tones of the papers and she has colour matched the hats and stockings so the stamped image fits in perfectly.

Some really beautiful cards, and I'm always amazed how differently each person uses the stamps and papers.

Thanks for dropping by and keep checking in for most posts.
Have a good day.
Maggie

Friday 4 August 2017


 Good morning everyone,

Thank you so much to all the Crafty gang, everyone loved your samples on the shows.
We had so much fun making up all the cards and eating all the delicious cakes made by Rosemary...yum yum!

Here's a few more pictures from my paper challenge.
I really enjoyed this and it certainly sent my imagination off in different directions.


I need to show you all the fabulous samples made by everyone, but I have to get them back to take some more pictures as they seem to have been gobbled up in my phone somewhere!...so watch this space, they'll be up after Wednesday.
That's all for today, but I've been playing with making some very different backgrounds, which I'll post soon.
Thanks for dropping by and have a great weekend.

Maggie

Monday 24 July 2017


  Good morning everyone,
 I'm so sorry its taken so long to post something new....I'm back on track now.
Here's a peek at what I've been up to with the fantastic Crafty Gang.


We've been busy here, in what was a very hot and sunny Peterborough (not today though) making samples for the next Wild Rose Studio shows which are on Tuesday July 25th at 3 & 7 pm.
I hope you'll be able to join us and see all the fabulous samples that the Crafty gang have made. Thank you to them all, its so lovely to all get together and spark each others creativity.


We had some lovely 6x6 paper packs to work with too, so I gave myself a challenge: to make cards using every design (36 in total) , a die and a sentiment, plus usual trimmings were allowed.
This took me out of my comfort zone and I'm sure many of you have a few pages left over that you look at in a pack and think I'll never use those....however you will be surprised. I had so much fun doing this challenge and I became hooked, never again will I ignore a paper because its not to my taste.
Take the challenge yourself, and see how you get on, I'd love to hear how you get on and see your creations.

I've put a few photos below and will post more over the next few days, along with some of the Crafty gang cards.


The dies I used come from the spellbinders Christmas ornament range (2010,2011,2012, 2013) and Sue Wilson Festive collection Christmas shadow box, sentiments and the winter trees collection which are all fabulous.
I've used some other sentiment dies from lawn fawn.


There is also a fab A4 paper pack-vintage, which has some lovely designs. I've created 2 journals using these papers. the first is very 'clean' and suitable for a special photo album, wedding planner etc. The other has altered pages, which I stamped on using a selection of my favourite stamps, then I tore watercolour card to fit into cut outs on the pages, so I can write, draw, stamp on, whenever I choose. I really enjoyed doing both of them.

Both these journals are made using the same paper pack, one has been left 'plain', the other the papers have been 'altere.d'

Hope this has given you some inspiration, and go on challenge yourself-use every paper next time you buy a mixed design paper pack.

Thanks for dropping by and have a good day.

Maggie


Tuesday 16 May 2017

Good morning everyone,

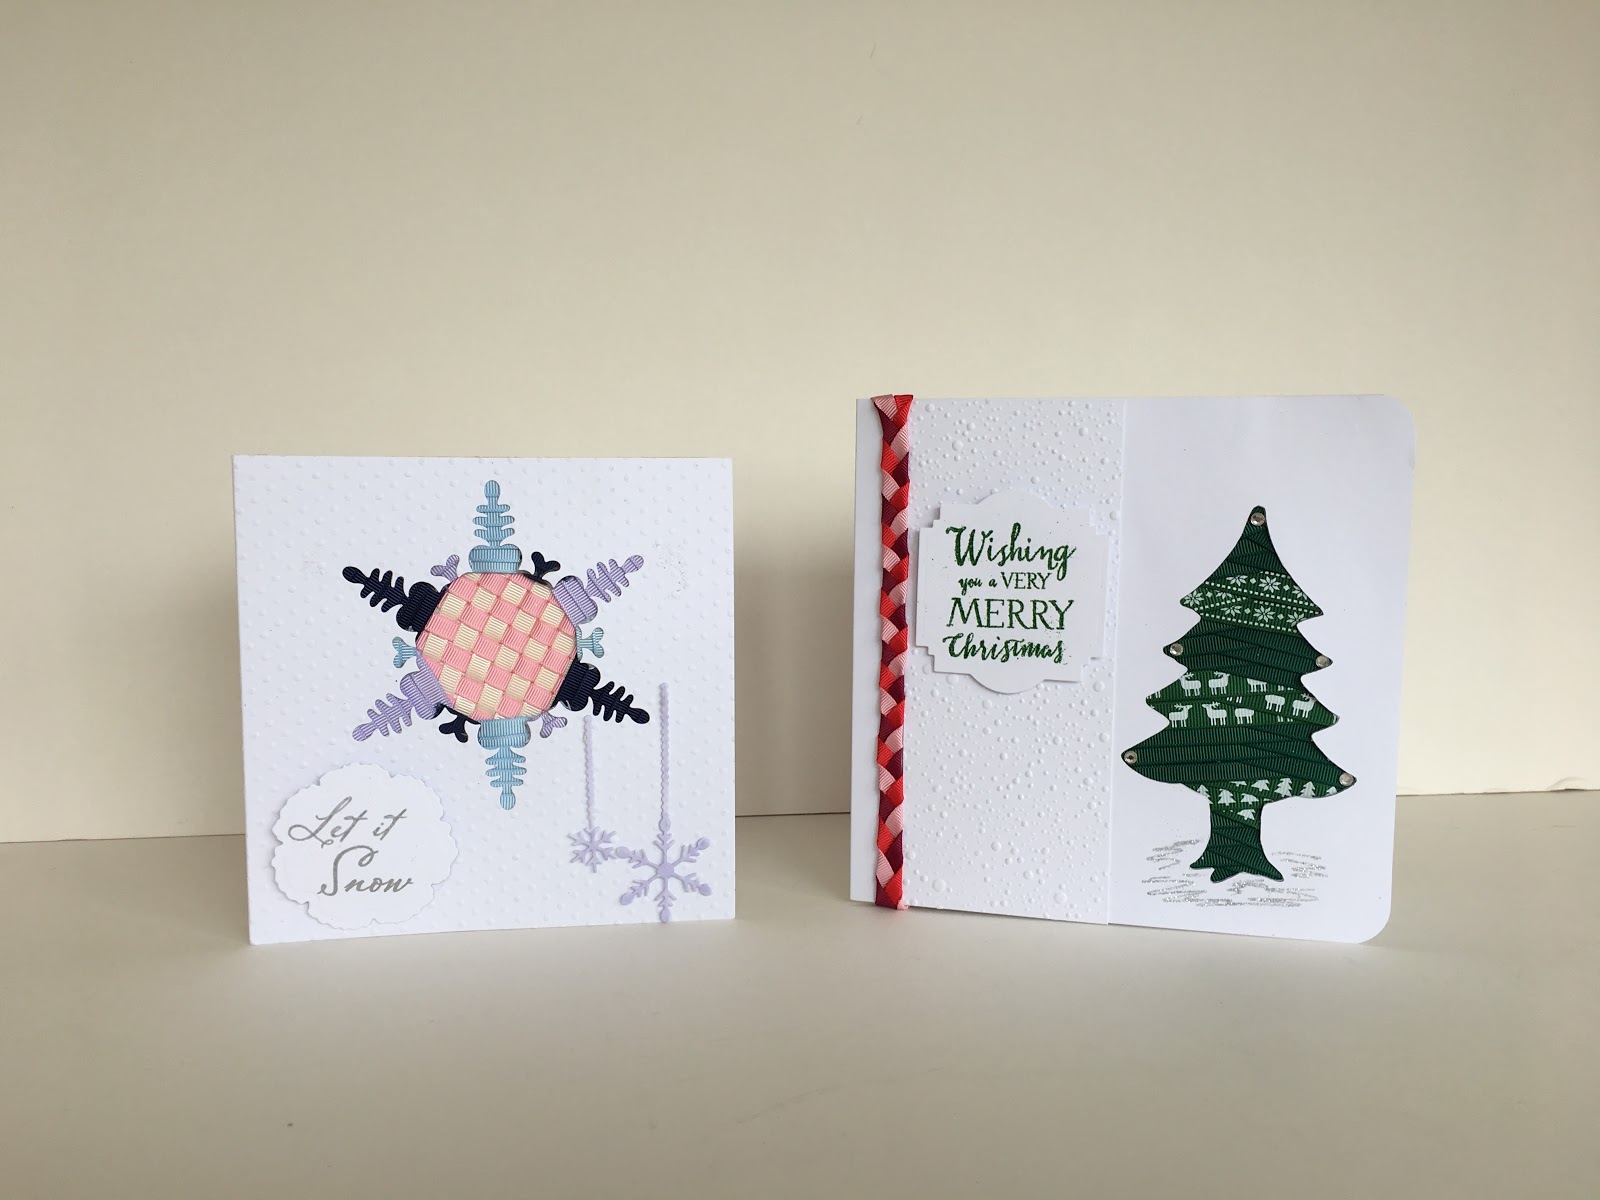
Here's how to make the mini keepsake book that I demonstrated on Hochanda using Wild Rose Studio 6"x 6" papers and their rose corner die, which are fab.

If you purchased the 6"x 6" papers (which came as a pack of 2), the chipboard in each pack is perfect for the covers. If not, don't worry, measurements are below with instructions and some pictures for some of the stages.

Instructions for 6" x 6" keepsake book

Covers, from chipboard, cut 2 pieces measuring 6" x 6".

Pages: ideally from 12" x 12" card stock so you can use the off cuts for page pockets, tags or corners.

I suggest you don't have more than 6 pages, as it will become too bulky to close properly once tags, embellishments etc are added.

Cut 6 pages measuring 6 1/4" x 5 3/4", keep any off cuts as they can be used for page pockets and corner die cutting.

Page pocket size: 2 1/2" x 5 3/4" - cut as many as you choose.


Handy hints:

If you have any spare chipboard from another project, cut 2 strips and stick together- keep this and use as a cutting guide when trimming card stock corners for book covers.
Use strong, good quality double sided tape- I recommend scor-pal or red line tape, when I first started making books/albums I used cheaper tapes, which was a mistake as they soon came unstuck.
I use Collall all purpose glue to stick the pages as it gives you time to move the paper if you need too.
Cosmic shimmer (dries clear) glue is good for sticking pocket edges to pages if you don't want to use tape as it "grabs" the surface very quickly, BUT it is less forgiving and not easy to manipulate paper once stuck down.
If you're using a delicate corner die (e.g wild rose studio rose corner) as a pocket to slide tags/photos into, cut 2 and stick together to provide extra strength- if using decorative paper, cut the bottom layer from card stock used for pages. For additional strength, apply clear embossing powder, once both layers are stuck together.
Finally, I always have a "glue rubber" nearby, to remove any excess glue gently once it has dried- I go through the book, page by page  once I've completed it to check for glue marks.

Construction

With the page landscape (6 1/4" along the top edge), score in 1/2" on one edge only on each page, so that when the score is folded, the page size will measure 5 3/4" x 5 3/4".
Burnish each fold using a bone folder.


Take the pages, with the fold on the left side facing downwards, line up to edge of the page underneath, ensuring that the fold is always on the left underside of the next page.
Once all pages are stuck, forming a booklet, trim off the remaining 1/2"flap. The first page will become the front inside cover and the last page of the booklet will become the inside of the back cover.


Cover the outside of your chipboard covers, using a piece of 8"x 8" card stock which will provide an overlap of approx 1" all round. Trim the corners as shown and stick opposite sides first, then using a bone folder or your thumb nail, push in the side edge of each corner, so that when the flap is folded over, there is a neat corner with no chipboard showing.


 Place the back cover -covered side down, apply  Collal glue to the last page of the booklet, line up along the left edge leaving a gap of approximately 1/8" all round. Stick down firmly.
Apply glue to first page of booklet, and stick  to the inside of the top cover, pick up the book so that you can ensure the covers are lined up correctly by holding firmly onto hard surface- you will only be able to do this if you have used a glue with moving time.
Once stuck. allow the glue to set overnight, otherwise you may end up with an odd crease on a cover page.


Before decorating front cover, choose and fix a fastening of your choice to the outside of the front and back cover. Use double sided tape to stick.
Decorate internal pages and add pockets or corners.
I cut decorative papers 1/4" smaller than book pages, and the covers, BUT always double check by lining paper up first before cutting, to ensure you have the size you're happy with.

Here are page suggestions, you can also use decorative edge punches on the pockets to provide a different effect.
Rose corner die, double thickness, covered with clear
embossing powder.

I hope you have fun making this booklet - I'd love to see what you create,
Happy Book making!

Thanks for dropping by,

Maggie